Quick Start · PhotoChemist

A great film
look in about
five minutes.

PhotoChemist is a physically-based film emulation that runs inside DaVinci Resolve. No physics required. Pick a preset, nudge a few controls, done.

~5 minto a look
1control does 80%
8day-one controls
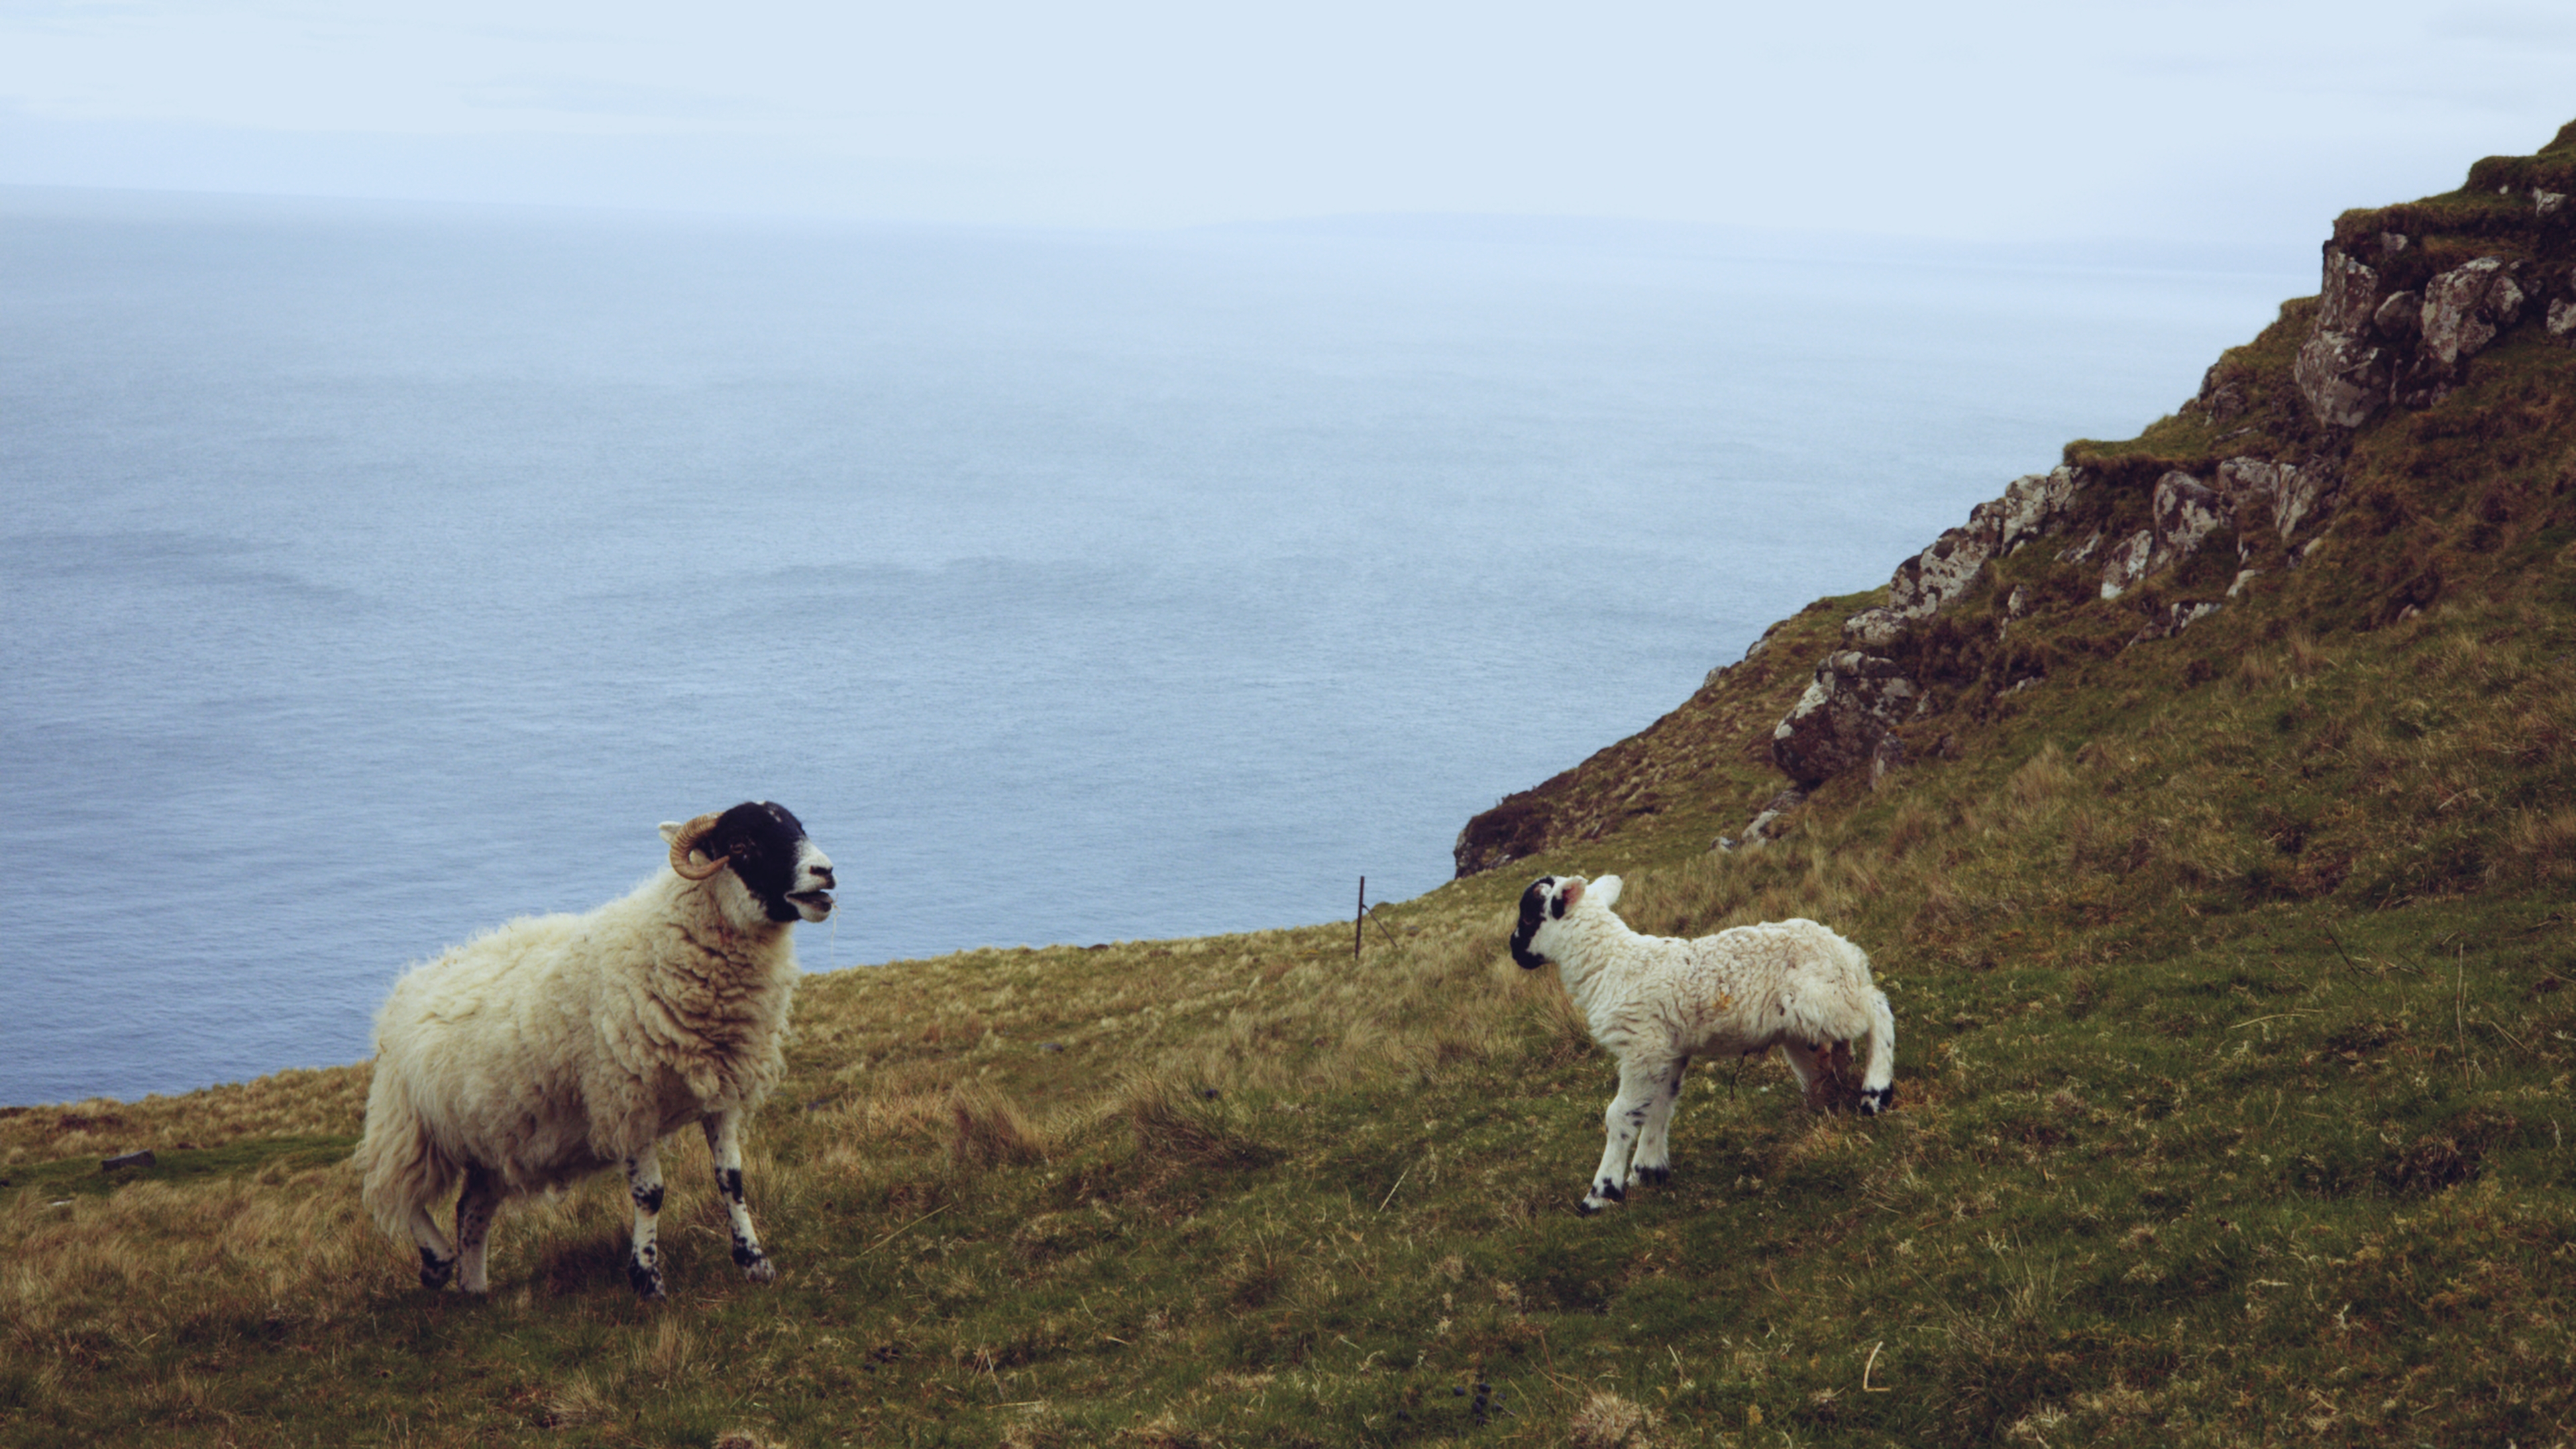
Preset preview Real export
PhotoChemist preset preview
Seneca Cine

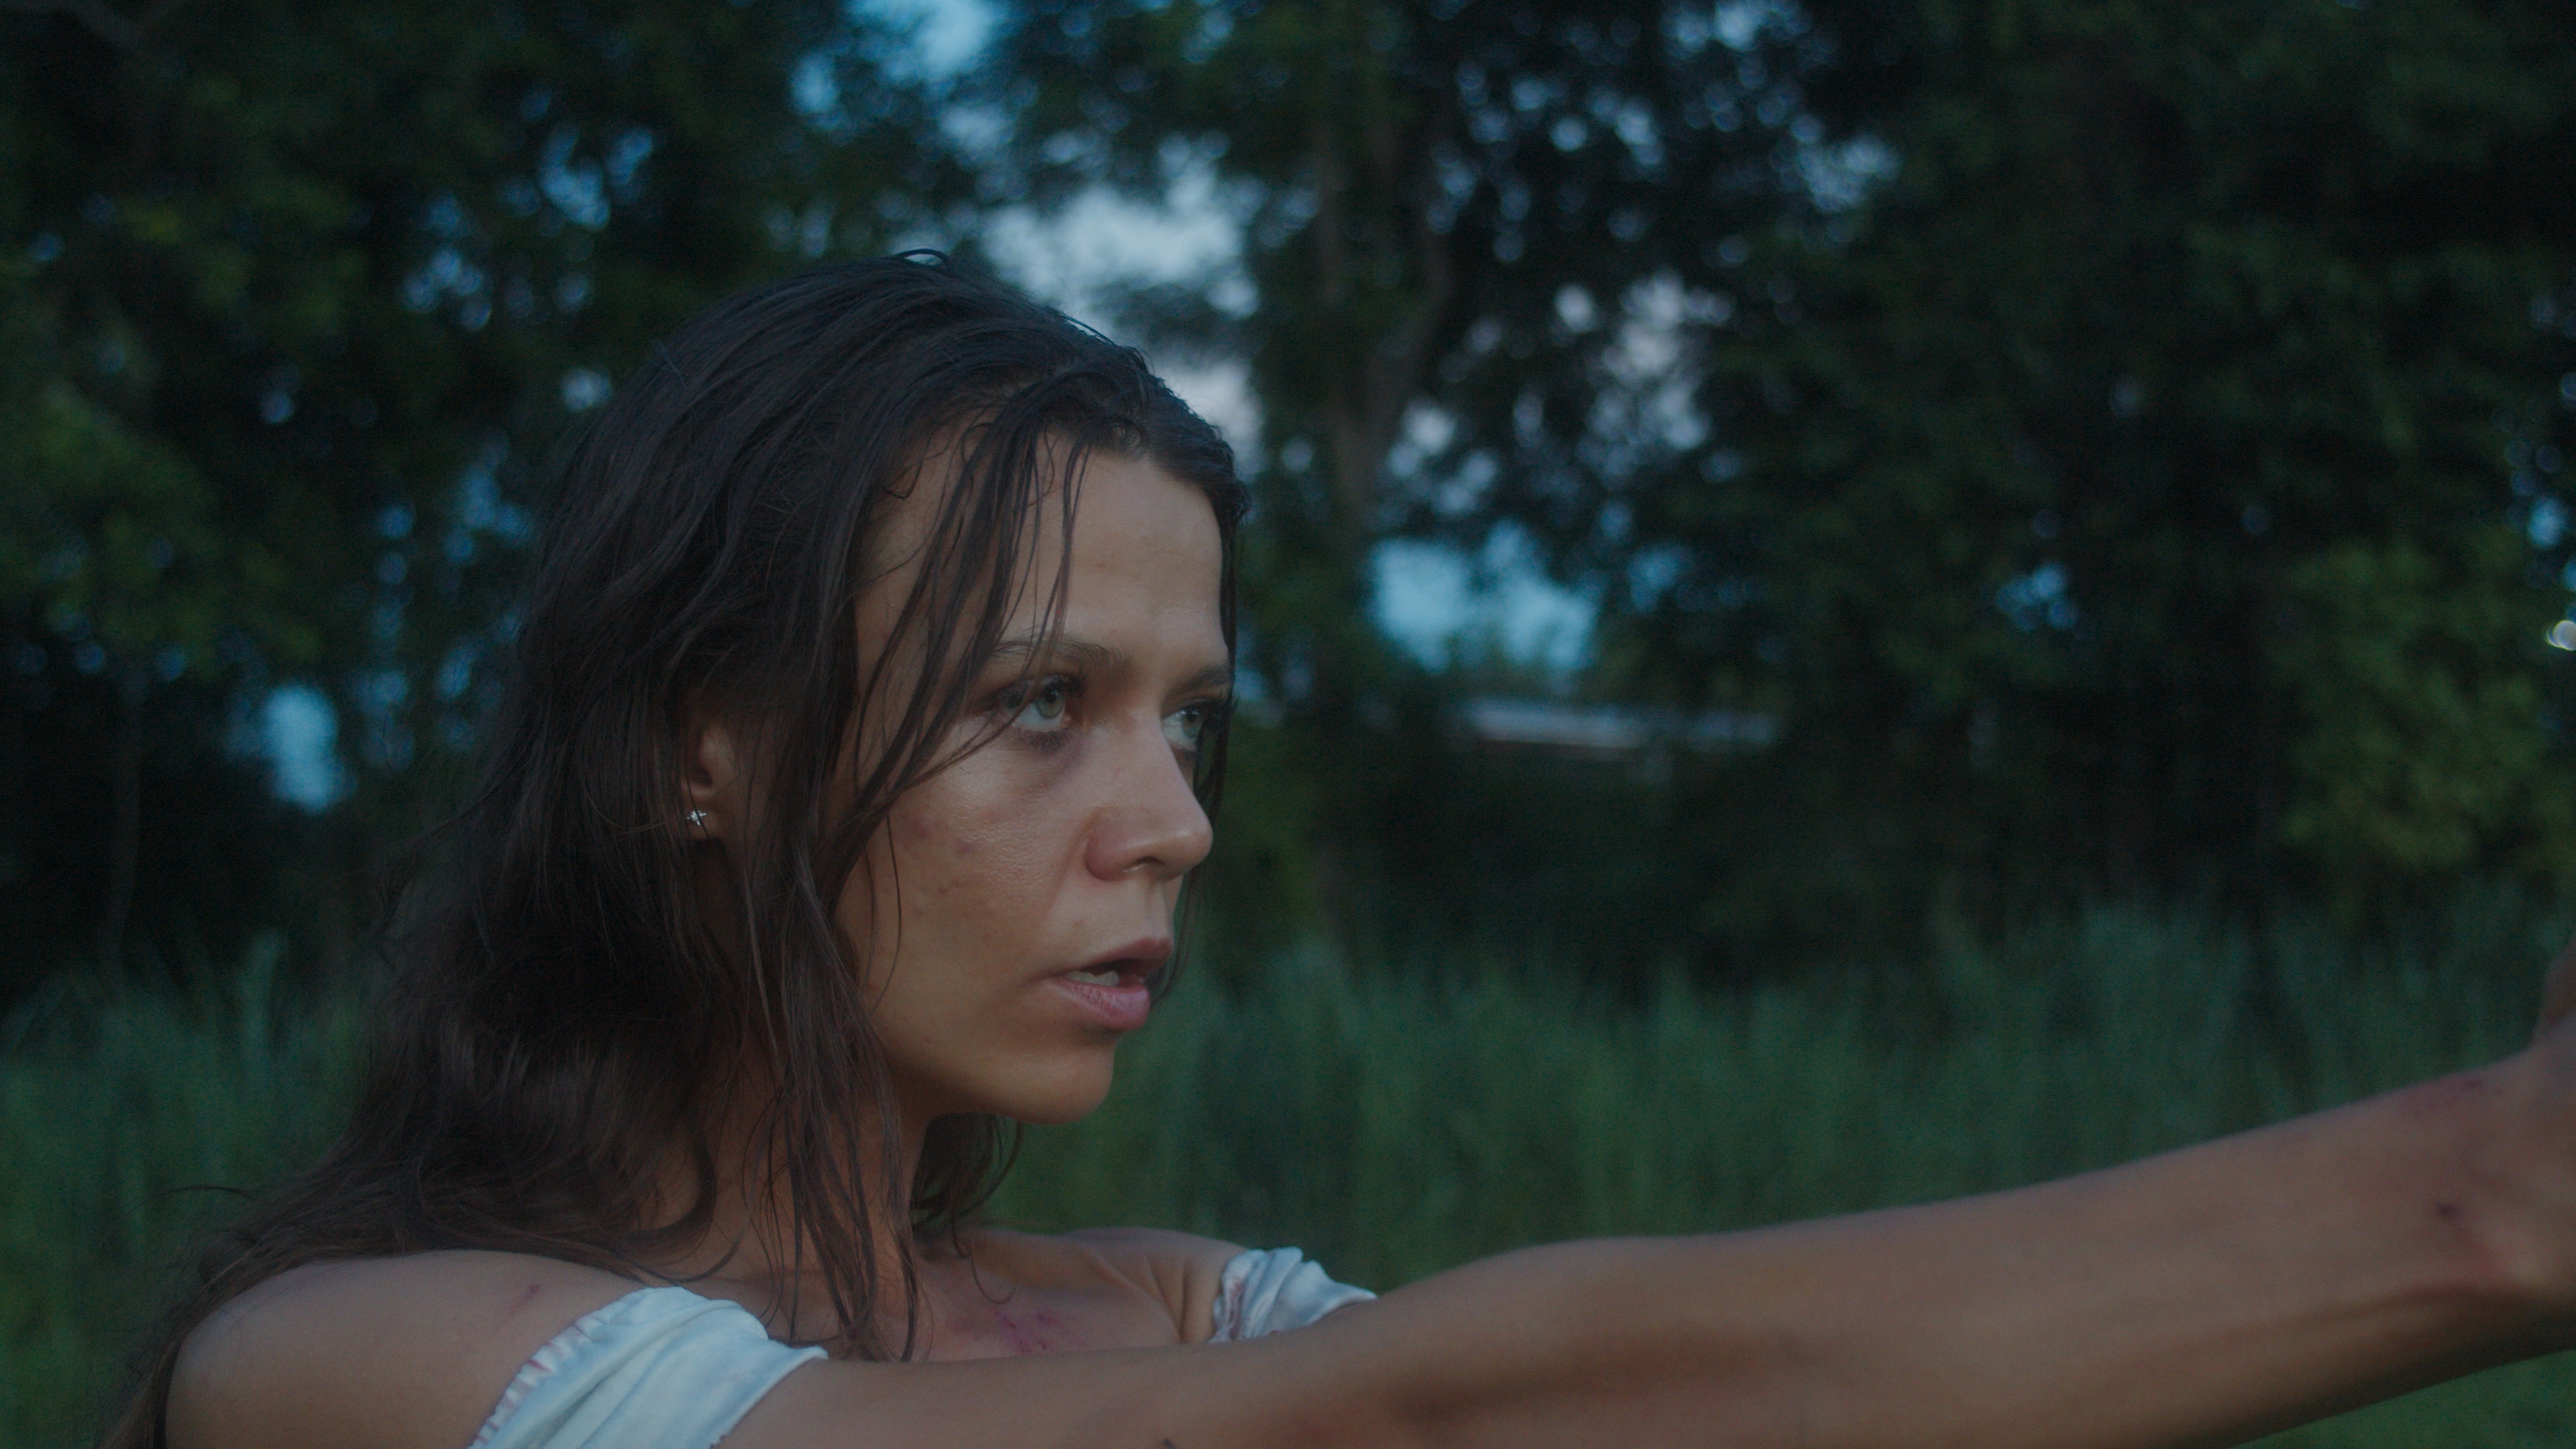
Real Full Preset exports on one frame. Your own footage lands differently, but the response is the same. Hold the button to see the neutral starting point.

What PhotoChemist is

A film lab in a node, not a LUT.

Instead of stamping a fixed "film look" onto your image with a 3D LUT or an S-curve, PhotoChemist simulates the real photochemistry: your image exposes a negative, the negative develops into cyan / magenta / yellow dye, that negative is printed onto a print stock, and the print is projected through a bulb.

Because it re-derives the look from that chain, everything responds the way real film does when you change stock, balance, or exposure. You do not need to understand the chemistry to use it.

The one thing to remember

Pick a Full Preset, nudge a few controls, done. Everything else on this page is just dialing the look.

Explainer clip
What PhotoChemist does · 60-second overview
Drop video clip here

Placeholder · negative → develop → print → project, in one pass

Step 1 · Apply it in Resolve

Get it onto a node.

Treat PhotoChemist as the film stage, not your primary corrector. Clean up exposure and white balance first, then let it do the film part. That's the whole setup.

Add a serial node after your balance

In the Color page, add a serial node after your basic balance. Correct gross exposure and white balance on an earlier node. PhotoChemist is the film stage, not the corrector.

Drag PhotoChemist onto the node

It lives under Film Look Tools - Dec. 18 Studios in the OpenFX / effects library. Drop it on the node you just made.

Confirm the two top controls

Input Mode: leave on DaVinci Intermediate for a normal DWG/Intermediate timeline; choose Linear if your image is scene-referred linear. Processing Mode — leave on Neg to Print for the full film chain (the default, and where you want to start).

Step 2 · The fastest path to a look

Pick a stock preset. That's 80% of it.

The single biggest move lives in the Quick Processing group (open by default). One dropdown does most of the work.

Step through the Full Preset dropdown

Land on one near your intent. Seneca Cine is the friendly default. This one control loads the negative stock, the print stock, both characteristic (contrast) curves, and the per-stock printer lights all at once, roughly 80% of your look.

Watch the colors re-derive

As you switch presets the colors re-derive rather than just shifting. That's the spectral model working: real film response, not a filter swap.

Set a texture pass by gauge

Open the Textures Editor… button and set the master format to 65mm / 35mm / 16mm. It sets grain, halation, and sharpness together at physically sensible ratios. Smaller gauge = grainier, softer, more halation.

Step 3 · The controls that matter on day one

Eight controls carry almost every look.

Most live in Quick Processing. Learn which way to push each one and you can shape nearly anything.

Quick Processing

Full Preset

Loads a complete stock + curve + printer-light look in one move. Start here: this is most of your result.

Step through, land near your intent
Quick Processing

Printer Light

Overall lab exposure / balance for all three channels. 25 = neutral, 1 point ≈ 1/12 stop. Lab convention: more light = darker print.

Lower it to print brighter
Quick Processing

R / G / B Printer Points

Per-channel version of the same control, your color-balance / timing knob. Same 25 = neutral rule.

Nudge a few points to warm, cool, or correct a cast
Quick Processing

Neg HD / Print HD Curve

The contrast personality of the negative and print stocks: toe, gamma, and shoulder.

Swap for a punchier or softer stock feel
Quick Processing

Projector Bulb

Calibrated viewing-lamp color: Neutral, Carbon Arc, Xenon, and more. Editing any projector slider flips it to Custom.

Warm or cool the whole projection
Quick Processing

Theater Screen Sim

Print base density = your black point. Default 0.040. Higher (toward 0.2) = milkier, lifted blacks; lower (toward 0.01) = deeper blacks.

Lower for deeper blacks
Quick Processing

Grain / Halation / MTF

Master on / off for the three film textures. Turn them on, then tune the feel in the Textures Editor.

On, then tune in the Textures Editor
Textures Editor / Textures

Grain Amount

Grain intensity. The slider goes to 15 but the natural range is 0–2: 0.5 subtle (default), 1 pronounced, above 3 stylized / heavy.

Keep it around 0.5–1
For motion clips

Two extra switches in the Textures group add life: Enable Film Breath (organic frame-to-frame bulb / chemistry flicker) and Enable Gate Weave (mechanical position wobble). Both are off by default. Turn them on and keep the amounts low.

Step 4 · Two recipe looks

Two starting points, dialed for you.

Follow either one top to bottom. Both start from a Full Preset and take a minute of nudging.

Recipe 01

Clean modern negative

A crisp, contemporary film feel with just enough texture to read as film.
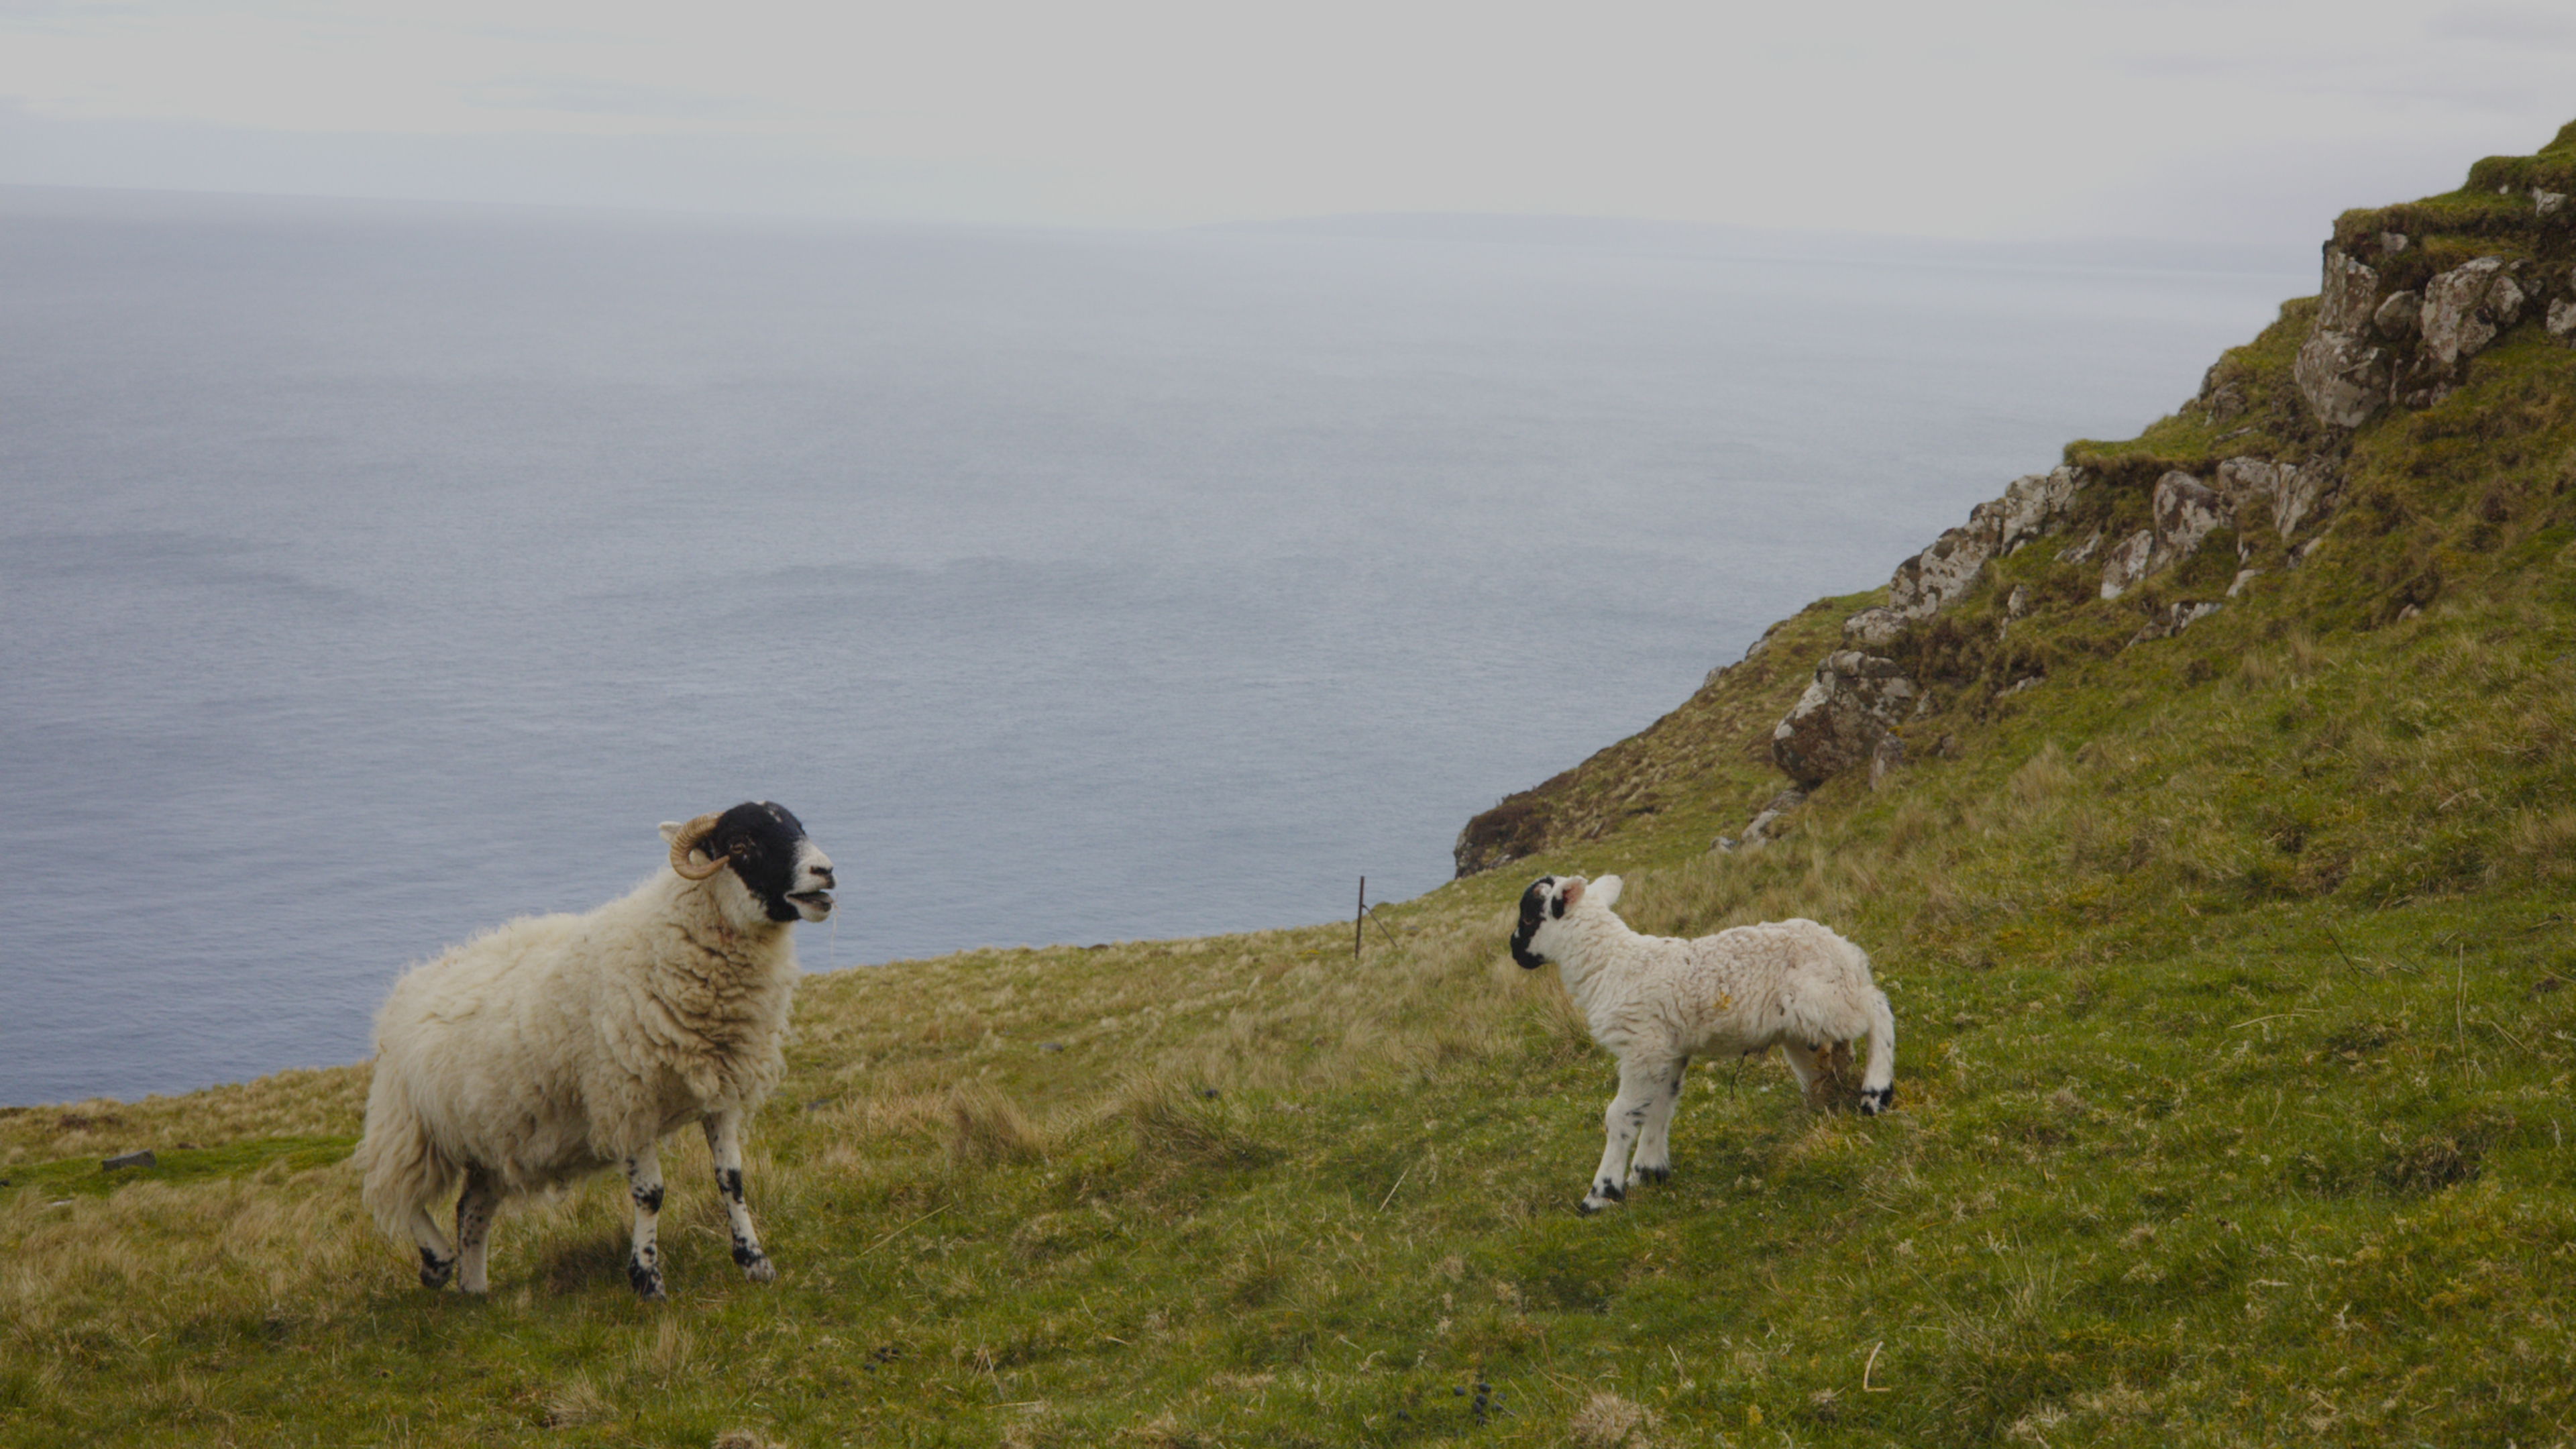
Before: neutral OpenDRT base After: Seneca Cine preset Base Seneca Cine
  1. Full Preset → a modern / balanced stock (start from Seneca Cine).
  2. Printer Lights: leave at 25, then nudge R / B a point or two to taste.
  3. Textures Editor → master format 35mm.
  4. Grain Amount ≈ 0.5, Halation on but gentle.
  5. Theater Screen Sim low (deeper blacks) for a clean, contrasty base.
Recipe 02

Vintage print with halation

A warmer, glowier, older-print character.

Before: neutral OpenDRT base After: Seneca Vivid preset Base Seneca Vivid
  1. Full Preset → a stock with more character; step through until the color feels period-correct.
  2. Projector Bulb → Carbon Arc (or nudge projector color warm).
  3. Printer Lights: lower the master a touch to print brighter / warmer, then balance R / B warm.
  4. Textures Editor → master format 16mm, or bump Halation boost / radius by hand.
  5. Grain Amount ≈ 1, Theater Screen Sim raised slightly for milkier, lifted blacks.
  6. On motion, add a little Film Breath and Gate Weave.

Step 5 · If it looks wrong

Common snags, fixed fast.

The quick answers to the things that trip people up first.

Too dark or too bright overall

Don't fight it with Printer Lights alone: they are balance, not a brightness slider, and the per-layer print curves cross by design. Fix gross exposure on a node before PhotoChemist, then let printer lights do color timing. Remember: more printer light = darker print.

A color cast you can't shake

Nudge the individual Red / Green / Blue Printer Points a few points, or open Printer Calibration and balance mid-grey once for the stock.

Grain looks like video noise sitting on top

Especially if it's crawling in the blacks, you've pushed Grain Amount too far. Bring it back toward 0.5–1.

Halation looks like a red filter, not a glow

If everything bright reads red rather than glowing around sources, lower the halation strength / boost or radius. Trust the format preset.

Edges look hard and ringing

That's over-sharpened MTF. Back off, or just use the format preset instead of hand-dialing.

Nothing looks like film

Confirm Processing Mode = Neg to Print and that you actually picked a Full Preset. The defaults are deliberately neutral.

Blacks look milky / lifted unexpectedly

Lower Theater Screen Sim: it sets the print base density, which is your black point.

Where to go next

The PhotoChemist guide series.

When presets and printer lights feel natural, keep going. Three guides, from first look to designing your own stocks.